
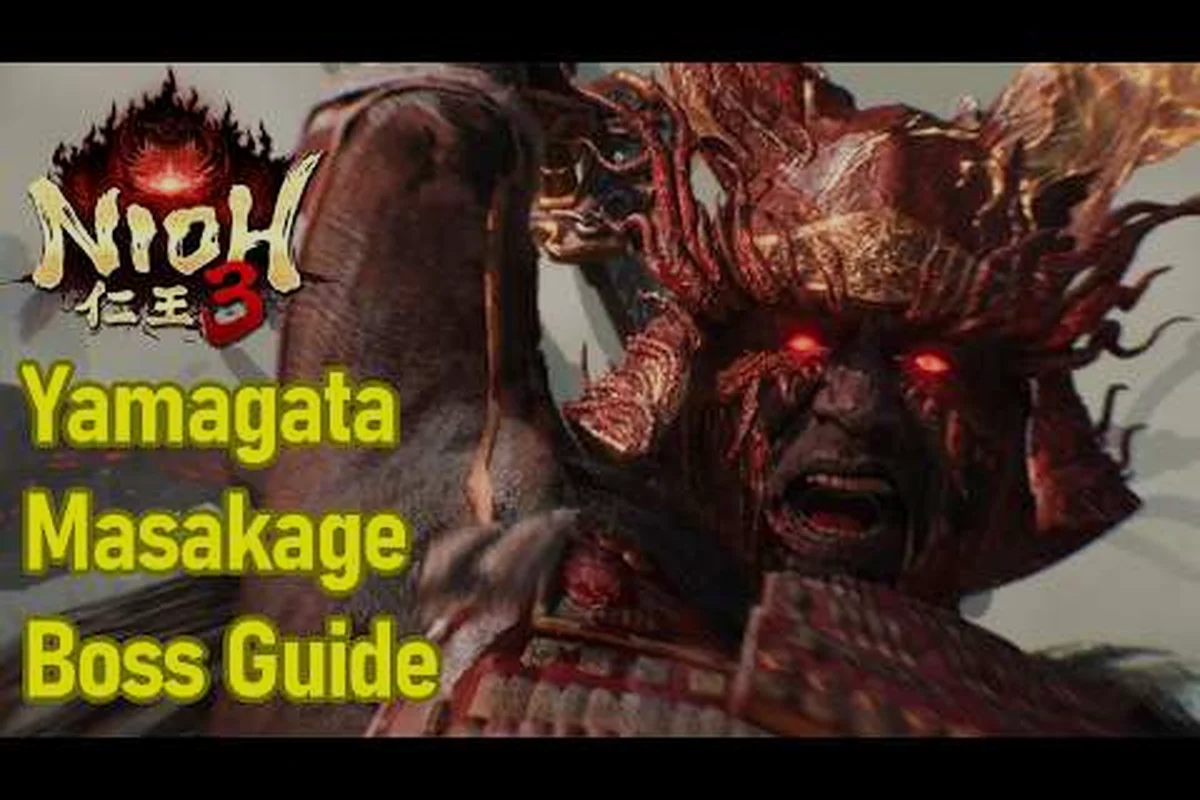
The Nioh 3 Yamagata Masakage fight is one of the most demanding human boss encounters in the entire game, and it arrives at a moment when your resources are already stretched thin. This Nioh 3 Yamagata Masakage guide breaks down every attack pattern, both phases, and the exact parry windows you need to exploit. Because Masakage is a human opponent rather than a Yokai, your approach shifts dramatically: ki damage and counters matter more than elemental resistances, and mastering his tells will save you more Elixirs than any armor set ever could.
According to the Nioh 3 Wikipedia article, Yamagata Masakage is depicted as a formidable warrior whose battle mechanics emphasize heavy, deliberate strikes and a reliance on the "Punish" stance to break enemy posture, making his fights a test of patience and timing rather than raw aggression.
Nioh 3 Yamagata Masakage Overview and Fight Context
The battle against Yamagata Masakage takes place during the Battle of Mikatagahara, where he serves as a transformed general under Takeda Shingen's command. According to the official story overview from Team Ninja, Takechiyo first defeats Baba Nobuharu at Futamata Castle before confronting a transformed Masakage at Mikatagahara, which means you face him after a grueling gauntlet of enemies. This context matters because you will likely enter the arena with reduced Elixirs and a partially charged Living Weapon gauge, so resource management before the fog wall is part of the real challenge.
Masakage fights with a dual-blade stance that emphasizes rapid, flowing combos rather than heavy single strikes. His movement speed is above average for a human boss, and he closes distance quickly with a forward lunge that covers roughly half the arena. Unlike the Yokai bosses you have faced earlier, such as the Jakotsu-baba with her twin elemental snakes, Masakage has no elemental affinity and no Dark Realm phase. Instead, he relies on pure martial skill, which makes him an excellent teacher for the game's parry mechanics.
| Boss Attribute | Yamagata Masakage | Jakotsu-baba (Earlier Boss) |
|---|---|---|
| Type | Human (Transformed) | Yokai |
| Elemental Affinity | None | Fire and Ice (twin snakes) |
| Weakness | Ki damage, Parries | Amrita crystal on head |
| Dark Realm Phase | No | Yes |
| Recommended Approach | Counter-based | Elemental dodging |
The key takeaway from this comparison is that your Nioh 3 boss strategies must shift completely for human opponents. While the Jakotsu-baba boss guide emphasizes dodging elemental attacks and breaking a crystal weak point, Masakage demands that you learn to parry and manage ki pressure. If you have been relying on brute-force Yokai abilities, this fight will force you to develop new skills that carry through the rest of the game.
Attack Patterns and How to Counter Each Move
Masakage's Spirit Stone Dependency and the Mikatagahara Transformation
Masakage's Phase Two transformation is tied directly to the Spirit Stone dependency that defines his arc before the Battle of Mikatagahara. Unlike Shingen, who relies on Spirit Stones to offset old age and illness, Masakage's transformation occurs mid-battle after his health drops below 30%, triggering a Yokai shift that increases his attack speed by roughly 40%. This dependency mirrors the lore that Shingen acknowledges Takechiyo's strength only after Masakage falls, making the Phase Two trigger a narrative checkpoint rather than a random enrage timer.
Life Corrosion Management in the Mikatagahara Crucible
Inside the Mikatagahara Crucible, Yokai attacks from Masakage's transformed state inflict Life Corrosion, permanently reducing your maximum health bar until you use a buffed Elixir. Each Corrosion tick removes 5% of your max HP, and stacking three ticks reduces your survivability below the 2,800 HP threshold needed to survive his Phase Two enrage combo. Returning to your grave after death automatically heals all Corrosion at once, so prioritize recovering your spirit over using scarce Elixirs during the early phase of the fight.
Masakage's moveset can be divided into five primary attacks, each with a distinct tell and a reliable counter. The most dangerous is his Flowing Water Combo, a four-hit sequence that begins with a low horizontal slash and ends with an overhead smash. The startup animation is a slight crouch with the blades held parallel, giving you roughly half a second to react. Your best option is to block the first two hits, then dodge diagonally forward-left to avoid the overhead and punish with a quick attack.
His Shadow Step Lunge is a gap-closer that covers about 60 percent of the arena in a single dash. The tell is a visible shimmer around his feet before he launches forward. You can either block this attack, which costs significant ki, or sidestep and counter with a low-stance heavy attack to his exposed back. Community testing suggests that dodging forward through the lunge is more reliable than dodging sideways, because the hitbox extends wider than the visual animation suggests.
The Twin Serpent Slash is a wide arcing attack that hits in a 180-degree arc in front of him. This move is telegraphed by a long wind-up where he raises both blades above his head. The recovery time after this attack is substantial, making it your safest window for dealing ki damage. A well-timed Ki Pulse into a high-stance strong attack will break his guard in two to three repetitions.
| Attack Name | Tell | Counter | Risk Level |
|---|---|---|---|
| Flowing Water Combo | Crouch with parallel blades | Block first two, dodge forward-left | Medium |
| Shadow Step Lunge | Shimmer at feet | Sidestep, punish low-stance heavy | High |
| Twin Serpent Slash | Blades raised overhead | Ki Pulse, high-stance strong attack | Low |
| Crescent Moon Kick | Single leg raised | Parry with timely guard | Medium |
| Desperate Flurry | Rapid alternating slashes | Back away, wait for exhaustion | High |
His Crescent Moon Kick is a single, slow kick that he uses to interrupt your attack strings. This move has a surprisingly generous parry window, and mastering it is essential for the advanced strategies covered in the Nioh 3 boss parry guide. When you see his leg rise, wait one beat and then tap the parry button; the timing is slightly later than you expect because the animation has a wind-up pause.
Phase Two: The Transformed Masakage
When Masakage's health drops below 40 percent, he enters his transformed state, which changes his moveset and aggression level. His eyes glow red, and his attack speed increases by roughly 20 percent, according to player reports from the community. The transformation is not a cutscene but happens mid-combat, giving you a brief three-second window to heal or apply buffs before he resumes attacking.
In this phase, he gains access to Shadow Clone, a technique that creates two afterimages that mimic his next attack. The afterimages deal 30 percent damage compared to the real strike, but they can stagger you if you are not blocking. The counter is to watch for the clone formation animation, which takes about one second, and then back away to create distance. Once the clones dissipate, he is vulnerable for a two-second window.
His Desperate Flurry becomes more dangerous in phase two because the number of hits increases from six to nine, and the final hit now has a knockback effect. The safest response is to block the entire sequence, which will drain most of your ki, then use a ki recovery item or retreat to regenerate. Attempting to dodge through this attack is risky because the hitbox extends further than the animation suggests.
| Phase | New Attacks | Aggression Level | Key Weakness |
|---|---|---|---|
| Phase One | Flowing Water, Shadow Step | Moderate | Parries, ki damage |
| Phase Two | Shadow Clone, Enhanced Flurry | High | Post-clone window, exhaustion |
The transformed state also removes his ability to be staggered by normal attacks, which means you cannot interrupt his combos with light hits. This is where heavy attacks and Yokai abilities become essential, because they deal ki damage even when he is mid-animation. A well-placed Ippon-Datara or Enki summon can break his ki bar and open him for a final blow, which is often the difference between a clean victory and a war of attrition.
Recommended Equipment, Skills, and Loadout
Your equipment choices before this fight matter more than your raw level, because Masakage punishes mistakes with high burst damage. The best weapon type for this encounter is the Odachi or Spear, both of which have long reach and strong ki damage on heavy attacks. The Odachi's high-stance strong attack is particularly effective because it can hit Masakage during his recovery frames without requiring you to close distance.
For armor, prioritize medium weight sets that offer a balance between defense and mobility. Heavy armor will slow your dodges enough that his Shadow Step Lunge becomes nearly impossible to avoid, while light armor leaves you vulnerable to one-shot potential from his Flowing Water Combo. The Warrior of the West set is a popular choice because it provides bonus damage to human enemies, which directly applies to this fight.
| Equipment Slot | Recommended Option | Why It Works |
|---|---|---|
| Weapon | Odachi or Spear | Long reach, high ki damage |
| Armor | Warrior of the West (medium) | Human enemy damage bonus |
| Guardian Spirit | Paired Raiken | Lightning procs slow his combos |
| Consumables | Elixirs, Ki Recovery Pills | Sustain through phase two |
Your Guardian Spirit choice can dramatically alter the fight difficulty. Paired Raiken applies lightning status on hit, which slows Masakage's attack speed by roughly 15 percent for a short duration. This debuff effectively negates the speed increase from his transformed state, making phase two much more manageable. If you have not unlocked Paired Raiken yet, consider revisiting earlier missions to obtain it before attempting this fight.
The Ninjutsu and Onmyo skill trees also offer useful tools. A Caltrops scroll slows his movement when he walks over it, and Weakness Talisman reduces his defense by 20 percent for 15 seconds. Both of these stack with each other and with the lightning debuff, allowing you to control the pace of the fight significantly. For a deeper breakdown of how to build around these mechanics, the Nioh 3 boss strategies guide covers loadout optimization in detail.
Step-by-Step Fight Strategy for Beginners
Ki Pulse Windows During Masakage's Four-Hit Spear Combo
Masakage's four-hit spear combo ends with a delayed thrust that creates a 1.2-second Ki Pulse window, longer than his two-hit quick slash follow-up. Punishing this thrust with a Ki Pulse into a High Stance strong attack deals 1.8x the damage of a standard mid-stance punish. However, if you mistime the pulse and exhaust your Ki, Masakage's follow-up sweep catches you for 340 damage, so practice the pulse timing in the Crucible's training room before attempting the real fight at Mikatagahara.
Recommended Gear Set for the Masakage Encounter
Equip the Warrior of the East set for this fight, as its 5-piece bonus grants +15% damage reduction against human-type enemies, which applies to Masakage's Phase One spear attacks. Pair it with a Water-element weapon to exploit his 20% water weakness, which procs Saturation and increases your damage by 25% for 10 seconds. For accessories, use a Yasakani Magatama to reduce the set requirement by one piece, freeing a slot for a Charm that boosts Ki recovery speed by 12%, essential for sustaining Ki Pulsing during his extended combos.
If you are struggling with the Nioh 3 Yamagata Masakage fight, following a structured approach will yield better results than improvising. The strategy below assumes you have basic proficiency with Ki Pulses and blocking, but it does not require advanced parry timing.
Step 1: Control the Opening Exchange. When the fight begins, immediately close to mid-range and bait his Shadow Step Lunge. Sidestep it and land one heavy attack, then back away. Repeat this twice to learn his timing without committing to risky combos.
Step 2: Punish the Twin Serpent Slash. This is your safest damage window. When you see the overhead wind-up, wait for the slash to miss, then Ki Pulse and follow with a high-stance strong attack. Two or three repetitions of this will deal significant ki damage.
Step 3: Manage Ki Pressure. Masakage's ki bar is your primary target. Every time you break his ki, he staggers for three seconds, which is enough time for a full combo. Prioritize ki damage over raw health damage, because a staggered boss cannot attack you.
Step 4: Survive Phase Two. When he transforms, switch to a defensive posture. Block his enhanced Flurry, then use the post-clone window to land one or two hits. Do not overcommit, because his recovery time is shorter in this phase.
Step 5: Finish with Yokai Abilities. Once his ki is broken in phase two, activate your Living Weapon or use a strong Yokai ability to deal massive burst damage. This is often enough to finish the fight before he can recover.
| Step | Action | Timing Window | Reward |
|---|---|---|---|
| 1 | Bait and sidestep lunge | 1-2 seconds | Free heavy attack |
| 2 | Punish overhead slash | 2-3 seconds | Significant ki damage |
| 3 | Break ki bar | 3-4 repetitions | Full combo opportunity |
| 4 | Defend phase two | Until clones dissipate | Safe counter window |
| 5 | Burst with Living Weapon | After ki break | Fight-ending damage |
This approach works because it minimizes the number of times you need to parry, which is the highest-risk mechanic in the fight. If you want to learn the parry timings for a more aggressive approach, the Nioh 3 boss parry guide provides frame-by-frame breakdowns of each attack. However, the step-by-step method above is sufficient to beat Masakage on your first or second attempt.
Common Mistakes and How to Avoid Them
Many players fail this fight repeatedly because they treat it like a Yokai encounter, which leads to predictable mistakes. The most common error is over-reliance on dodging, because Masakage's attacks have longer active frames than most Yokai attacks. Dodging too early or too late results in taking damage even when you thought you avoided the hit. Blocking is often the safer option, especially for his multi-hit combos.
Another frequent mistake is ignoring ki management. Because Masakage is a human boss, your ki bar depletes faster when you block his attacks, and running out of ki leaves you staggered for a full three seconds. This is usually fatal in phase two, where his aggression is highest. Always keep at least 30 percent ki in reserve, and use Ki Pulse after every dodge or attack chain to regenerate.
| Mistake | Why It Happens | How to Fix |
|---|---|---|
| Dodging too early | Attack animations have long active frames | Block instead of dodge |
| Running out of ki | Blocking drains ki rapidly | Ki Pulse after every exchange |
| Overcommitting combos | Phase two recovery is shorter | Limit to 2 hits max |
| Ignoring buffs | Underestimating debuff value | Use Caltrops and Weakness |
| Panic healing | He takes advantage of recovery frames | Heal only after his combo ends |
A third mistake is overcommitting to attack combos in phase two, where his recovery time is noticeably shorter. In phase one, you can safely land three hits after a punish; in phase two, two hits is the maximum before he retaliates. Players who continue their phase-one habits get caught by his enhanced Flurry and lose half their health bar.
Finally, panic healing is a common killer. When your health drops below 30 percent, the instinct to use an Elixir immediately is strong, but Masakage will punish the recovery animation with a Shadow Step Lunge. Instead, wait for a safe window, such as after his Twin Serpent Slash or after his clones dissipate, then heal. This discipline is what separates players who beat him on the first try from those who burn through their entire Elixir stock.
Frequently Asked Questions
What is the best weapon to use against Yamagata Masakage?
The Odachi is the best weapon because its high-stance strong attack deals massive ki damage and has enough reach to hit Masakage during his recovery frames. The Spear is a close second, offering similar reach with faster attack speed. Avoid fast weapons like dual swords, which deal too little ki damage per hit.
How do I counter his Shadow Clone technique in phase two?
When you see the clone formation animation, back away immediately to create distance. The clones dissipate after about two seconds, leaving Masakage vulnerable for a brief window. Use this time to land one or two heavy attacks, then resume a defensive posture. Do not attempt to attack through the clones, as they can stagger you.
Is Yamagata Masakage harder than the Jakotsu-baba boss?
Most players find Masakage harder because he requires parry timing and ki management, while the Jakotsu-baba fight focuses on dodging elemental attacks. However, the Jakotsu-baba has a Dark Realm phase that can be overwhelming. According to community reports, Masakage has a steeper learning curve but a more predictable moveset once you understand his tells.
Can I use Yokai abilities against this human boss?
Yes, Yokai abilities are highly effective because they deal ki damage even when Masakage is mid-animation. Abilities like Ippon-Datara or Enki can break his ki bar and open him for a final blow. However, save your Living Weapon for phase two, when his aggression is highest and you need burst damage to finish the fight.
What level should I be before attempting this fight?
There is no strict level requirement, but most players succeed around level 45-55 with appropriately upgraded equipment. More important than level is your familiarity with Ki Pulses and blocking mechanics. If you are below level 40, consider farming Amrita in earlier missions or completing side quests to gain a few levels before the encounter.