
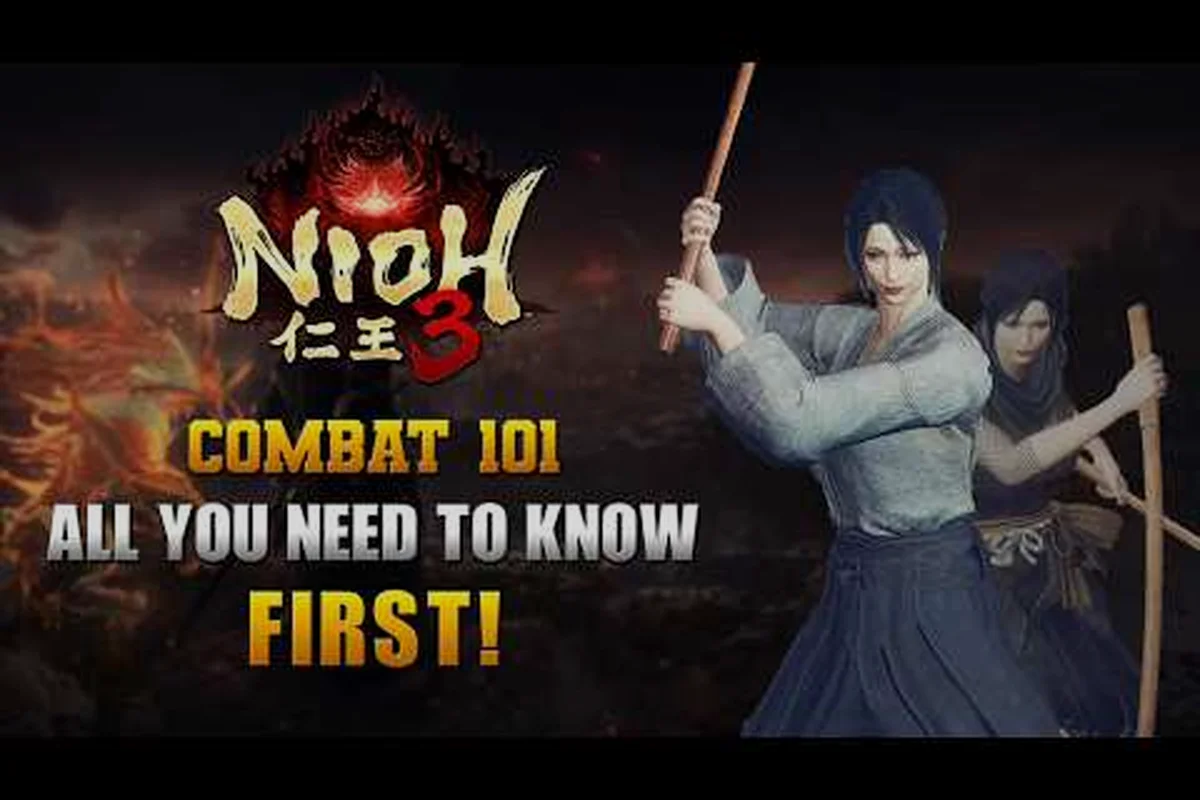
If you picked up Nioh 3 expecting the same rhythm as its predecessors, you are in for a pleasant surprise. This Nioh 3 combat guide breaks down the three systems that separate a clean run from a graveyard visit: Ki Pulse timing, Flux stance-switching, and the tactical use of Low, Medium, and High stances. The Samurai Style keeps the classic weapon-stance loop familiar, but the new Arts Proficiency gauge and the revamped parry window change how you chain offense into defense. Because every attack drains Ki, understanding when to pulse and when to switch stance determines whether you control the fight or spend it chugging elixirs. By the end of this article, you will know exactly how to build a combat loop that keeps your Ki full, your pressure constant, and your enemies staggered.
The Core Combat Loop Every Player Must Learn
The foundation of Nioh 3 combat is a simple exchange: attack, deplete Ki, recover Ki, repeat. What makes the system deep is the recovery phase, because a Ki Pulse is not just a stamina refill—it is a timing mechanic that rewards precise execution with extra Ki and a clean stance transition. When you finish a combo, a blue burst appears around your character; pressing the Ki Pulse button (R1 by default) at that exact moment restores a chunk of Ki and clears any Yokai Realm pools on the ground. Missing the window means slower recovery and leaves you vulnerable to counterattacks, which is why the official Wikipedia overview of Nioh 3 describes Ki Pulse as the central stamina-restoration tool for the Samurai playstyle.
The loop breaks down into four repeatable steps:
-
Engage — pick a stance that fits the enemy's attack pattern and open with a light or heavy string.
-
Combo — chain two to three attacks, watching your Ki bar drop below half.
-
Pulse — time the Ki Pulse at the blue flash to recover the spent Ki and clear Yokai Realm.
-
Transition — while pulsing, hold a stance button to switch stances and trigger Flux for bonus Ki.
This cycle sounds simple, but the depth comes from layering Flux on top. According to the IGN early-game guide, unlocking Flux 1 and Flux 2 early is a priority for players who struggle with Ki retention, because stance-swapping during a Ki Pulse refunds significantly more stamina than a standard pulse. The trade-off is that you must commit to a stance change mid-recovery, which means you need to know your next move before the pulse lands. That foresight is what separates a reactive player from a proactive one.
Ki Pulse Explained: Timing, Yokai Realm, and Perfect Pulses
Flux 1 and Flux 2 Skill Acquisition Order
Flux 1 unlocks first in the Samurai skill tree and refunds additional Ki when you swap stances during a Ki Pulse. Flux 2, available after spending skill points in two stance trees, grants even more Ki recovery when you chain two stance switches in a single pulse. IGN's early-game guidance recommends prioritizing both skills if you struggle with Ki retention in Samurai Style. The practical sequence: unlock Flux 1 before facing the first boss, then invest in Flux 2 once you have two stances leveled to at least rank 3 for consistent stance-swap windows.
Dual Swords and Deflect Parry Synergy
Dual Swords in Samurai Style offer a balanced middle ground between the Sword's reach and the Cestus's speed, avoiding the low range problems of the latter. Their Martial Arts suite includes blocking tactics and Deflect parries, letting you punish enemy attacks while building Arts Proficiency simultaneously. Practice Deflect timing against humanoid enemies in the first region — successful deflects leave enemies open for a High Stance combo that fills roughly 40% of your Arts Proficiency gauge. This makes Dual Swords the strongest early-game weapon for players who want to master the new parry mechanic.
If you want a Nioh 3 ki pulse guide that actually improves your runs, you need to understand the three pulse variants and when each one matters. A standard pulse recovers roughly 40 percent of the Ki you spent during the combo. A Perfect Ki Pulse, timed at the exact center of the blue flash, recovers closer to 60 percent and adds a small damage bonus to your next attack. The third variant is the Flux Pulse, which triggers when you switch stances during the recovery window and refunds even more Ki based on your Flux rank.
| Pulse Type | Trigger Condition | Ki Recovery | Bonus Effect |
|---|---|---|---|
| Standard Ki Pulse | Press R1 during the blue flash | ~40% of spent Ki | Clears Yokai Realm |
| Perfect Ki Pulse | Press R1 at the flash center | ~60% of spent Ki | Next attack deals +10% damage |
| Flux Pulse | Switch stance during pulse window | ~70-80% of spent Ki | Stance transition + bonus Ki |
The Yokai Realm mechanic adds a layer of risk to every recovery. When enemies attack you or when you block heavy hits, dark pools appear on the ground. Standing in a pool slows your Ki regeneration and leaves you open to Grapple attacks from Yokai enemies. A Ki Pulse clears the pool instantly, which is why you should always pulse after blocking a combo, not just after attacking. Community testing reported on the Fextralife wiki suggests that a Perfect Ki Pulse also grants a brief window of hyper-armor, letting you trade hits without flinching—useful when you are cornered.
For players who want to chain multiple pulses in a single recovery, the Flux II skill allows two stance switches during one pulse window. That means you can go Low → Medium → High in a single recovery, refunding a massive chunk of Ki and setting up a High Stance finisher. The catch is that each switch must be a different stance, so you cannot double-dip the same stance. Practicing this on the training dummy in the Dojo is the fastest way to internalize the timing, because the window is roughly half a second and the muscle memory transfers directly to boss fights.
Flux Guide: Stance Switching That Refunds Ki
The Nioh 3 flux guide portion of this article focuses on the skill tree investment and the practical scenarios where Flux outperforms a standard pulse. Flux 1 unlocks at the start of the Samurai skill tree and costs one skill point; Flux 2 is a few nodes deeper and requires a modest investment in the Ki stat. Both skills are passive—they activate automatically when you switch stances during a Ki Pulse—so the only cost is the skill point and the mental bandwidth to remember the switch.
| Flux Rank | Skill Point Cost | Stance Switches Allowed | Ki Refund Bonus |
|---|---|---|---|
| Flux 1 | 1 | 1 | +15% over standard pulse |
| Flux 2 | 2 | 2 | +30% over standard pulse |
| Flux (Master) | 3 | 2 + faster window | +40% over standard pulse |
The reason Flux matters so much in Nioh 3 is that the game's enemies are more aggressive than in previous entries. Bosses like the Oni of the Deep chain five-hit combos that force you to block or dodge, draining your Ki even when you play defensively. A standard pulse after a block recovers some Ki, but a Flux pulse recovers enough to let you counterattack immediately. According to the Game8 build tier list, the best Samurai builds revolve around consistent Ki Pulse usage combined with stance switching, because the refunded Ki lets you maintain offensive pressure without ever backing off to recover.
A practical pattern that works well against most humanoid bosses is the Low-to-High punish loop. Start in Low Stance to dodge through an attack, land two quick pokes, then during the Ki Pulse switch to High Stance and unleash a heavy finisher. The Flux refund covers the High Stance attack cost, so your Ki bar ends up nearly full even after a big swing. This loop is the backbone of aggressive play, and it is the reason veteran players describe Flux as the single most important skill in the entire Samurai kit.
Stances Guide: Low, Medium, and High in Practice
Ki Pulse Timing Windows by Stance
Each stance in Nioh 3 has a distinct Ki Pulse timing window that changes your recovery rhythm. Low Stance pulses trigger earliest after the final attack lands, rewarding players who cancel into dodges quickly. Medium Stance offers a middle window that aligns with Flux 1 stance-swap inputs. High Stance has the latest pulse window but refunds the most Ki per successful pulse — roughly 30% more than Low Stance. Practice the pulse timing on the training dummy in the Dojo before attempting Yokai Realm encounters, where mistimed pulses leave you winded and vulnerable to enemy counterattacks.
Arts Proficiency Gauge and Devastating Attacks
Arts Proficiency builds as you deal damage to enemies, filling a dedicated gauge separate from your Ki bar. Once full, you can unleash a devastating attack that deals significantly increased damage — the gauge resets after use. The Samurai Style benefits most from this system because high-damage combos in High Stance fill the gauge faster than Low Stance chip damage. Save your full gauge for boss phases where enemies enter a staggered state, maximizing the burst window rather than wasting it on trash mobs that die in two hits anyway.
This Nioh 3 stances guide breaks down the three stances by their strengths, weaknesses, and best-use scenarios. Each stance changes your moveset, dodge type, and Ki costs, so the stance you choose is effectively your answer to a specific enemy behavior. The Fextralife beginner guide notes that Samurai Style weapons—Sword, Dual Swords, Spear, and Cestus—all share the same three-stance structure, though the specific moves differ per weapon.
| Stance | Dodge Type | Ki Cost | Best Against | Weakness |
|---|---|---|---|---|
| Low Stance | Quick step (short distance) | Lowest | Fast enemies, dodge-heavy play | Low damage per hit |
| Medium Stance | Roll (medium distance) | Moderate | Balanced play, blocking | No clear specialty |
| High Stance | Heavy roll (long distance) | Highest | Slow enemies, big openings | Leaves you vulnerable after whiffs |
Low Stance is the defensive workhorse. The quick step dodge has the shortest recovery, letting you chain multiple dodges in a row without getting caught mid-animation. Attacks are fast but weak, which makes Low Stance ideal for applying status effects like Poison or Fire through rapid hits. It also pairs well with the Cestus weapon, whose Low Stance moveset is a flurry of quick jabs that build the Arts Proficiency gauge faster than any other stance.
High Stance is the damage dealer. Heavy attacks in High Stance have the highest damage-per-hit in the game, and the hold-to-charge variants can break enemy guards in a single hit. The trade-off is the slow recovery after each swing, which means you need to commit to the attack and trust your timing. High Stance is best used after a Flux switch from Low or Medium, because the refunded Ki covers the expensive recovery window. For players who want to maximize damage output, the weapon requirements guide covers which weapons have the strongest High Stance movesets.
Medium Stance sits in the middle. It offers a balanced moveset with a reliable roll dodge and solid blocking, making it the safest choice for unfamiliar enemies. The downside is that it lacks the specialization of the other two stances, so it is best used as a fallback while you learn a boss's pattern. Once you know the openings, you can switch to Low for dodging or High for punishing.
Arts Proficiency and the New Parry Mechanic
Beyond the Ki system, Nioh 3 introduces Arts Proficiency, a gauge that fills as you deal damage. When the gauge is full, you can unleash a devastating Arts Attack that deals massive damage and staggers most enemies. According to the official gameplay trailer shown at TGA 2025 and covered by IGN on YouTube, the Arts Attack is a flashy, high-impact finisher that rewards aggressive play. The gauge fills faster when you land hits in the stance that matches your weapon's affinity, which is another reason to master all three stances rather than sticking to one.
The new parry mechanic is a timing-based counter that works differently from the old Deflect system. Instead of a dedicated parry button, you now parry by pressing the block button at the exact moment an enemy attack lands. A successful parry staggers the enemy and opens them for a Grapple follow-up, but a mistimed parry leaves you blocking with reduced Ki. The Rock Paper Shotgun weapon tier list highlights the Dual Swords as the best weapon for parry-focused play, because their moveset includes several Martial Arts that build on blocking and Deflect parries. This makes Dual Swords the go-to choice for players who want to turn enemy aggression into counter damage.
The interaction between Arts Proficiency and the parry system creates a high-risk, high-reward loop. Parry an enemy attack to stagger them, land a few hits to build the gauge, then unleash the Arts Attack for a massive burst. The loop is especially effective against humanoid bosses who telegraph their attacks, but it falls apart against fast Yokai enemies who attack in unpredictable patterns. For those situations, the combos guide offers a deeper breakdown of how to chain Martial Arts and Ninjutsu into extended combos.
Advanced Tactics: Ki Management in Boss Fights
Boss fights in Nioh 3 are endurance tests that punish poor Ki management. The best players treat each boss as a puzzle: learn the attack patterns, identify the openings, and design a stance rotation that maximizes damage while keeping Ki topped up. A common mistake is to treat Ki as a resource to spend freely, when in reality it is the currency that buys you both offense and defense. Running out of Ki mid-combo leaves you staggered and unable to dodge, which is how most boss deaths happen.
| Boss Phase | Recommended Stance | Ki Strategy | Arts Proficiency Focus |
|---|---|---|---|
| Phase 1 (learning) | Medium Stance | Block and pulse after every combo | Build gauge with safe pokes |
| Phase 2 (aggressive) | Low Stance | Dodge through attacks, pulse after dodges | Fill gauge with rapid hits |
| Phase 3 (enraged) | High Stance | Flux switch after each punish | Unleash Arts Attack on stagger |
The Oni of the Deep boss is a good test case. In Phase 1, it uses slow, telegraphed swings that are easy to block, so Medium Stance with consistent Ki Pulses keeps you safe. In Phase 2, it starts chaining combos and summoning Yokai Realm pools, which forces you into Low Stance to dodge through the attacks and pulse to clear the pools. In Phase 3, the boss becomes enraged and leaves huge openings after each combo—this is when you Flux switch to High Stance and unleash your Arts Attack. Players who report beating this boss on the first try almost always mention that they kept their Ki above half at all times.
Another advanced tactic is Ki damage manipulation. Some weapons and Martial Arts deal extra Ki damage to enemies, breaking their guard faster and opening them for Grapples. The prestige points guide explains how the exploration rating system rewards you with prestige points that can be spent on Ki-related bonuses, including increased Ki damage and faster Ki recovery. Investing a few points here early on makes a noticeable difference in boss fights, because you will break enemy guards more often and create more Grapple opportunities.
Frequently Asked Questions
What is the best stance for beginners in Nioh 3?
Medium Stance is the best starting point because it offers balanced damage, a reliable roll dodge, and solid blocking. It lets you learn enemy patterns without committing to the specialized playstyles of Low or High Stance. Once you understand a boss's moveset, switch to Low for dodging or High for punishing.
How do I perform a Ki Pulse in Nioh 3?
Press the Ki Pulse button (R1 by default) when the blue flash appears around your character after a combo. Timing it at the exact center of the flash triggers a Perfect Ki Pulse, which recovers more Ki and grants a damage bonus. Holding a stance button during the pulse triggers Flux for even more Ki recovery.
What is Flux and why is it important?
Flux is a passive skill that refunds bonus Ki when you switch stances during a Ki Pulse. Flux 1 allows one stance switch, while Flux 2 allows two. It is important because the extra Ki lets you maintain offensive pressure without backing off to recover, which is essential for aggressive play against bosses.
Which weapon is best for parry-focused combat?
The Dual Swords are the best choice for parry play because their moveset includes several Martial Arts that build on blocking and Deflect parries. They also offer a good balance of speed and range, letting you counter enemy attacks and follow up with elemental damage. Practice the parry timing in the Dojo before using it in boss fights.
How does Arts Proficiency work?
Arts Proficiency is a gauge that fills as you deal damage in combat. When full, you can unleash a devastating Arts Attack that staggers most enemies. The gauge fills faster when you use the stance that matches your weapon's affinity, so mastering all three stances helps you build it more quickly and use it more often.